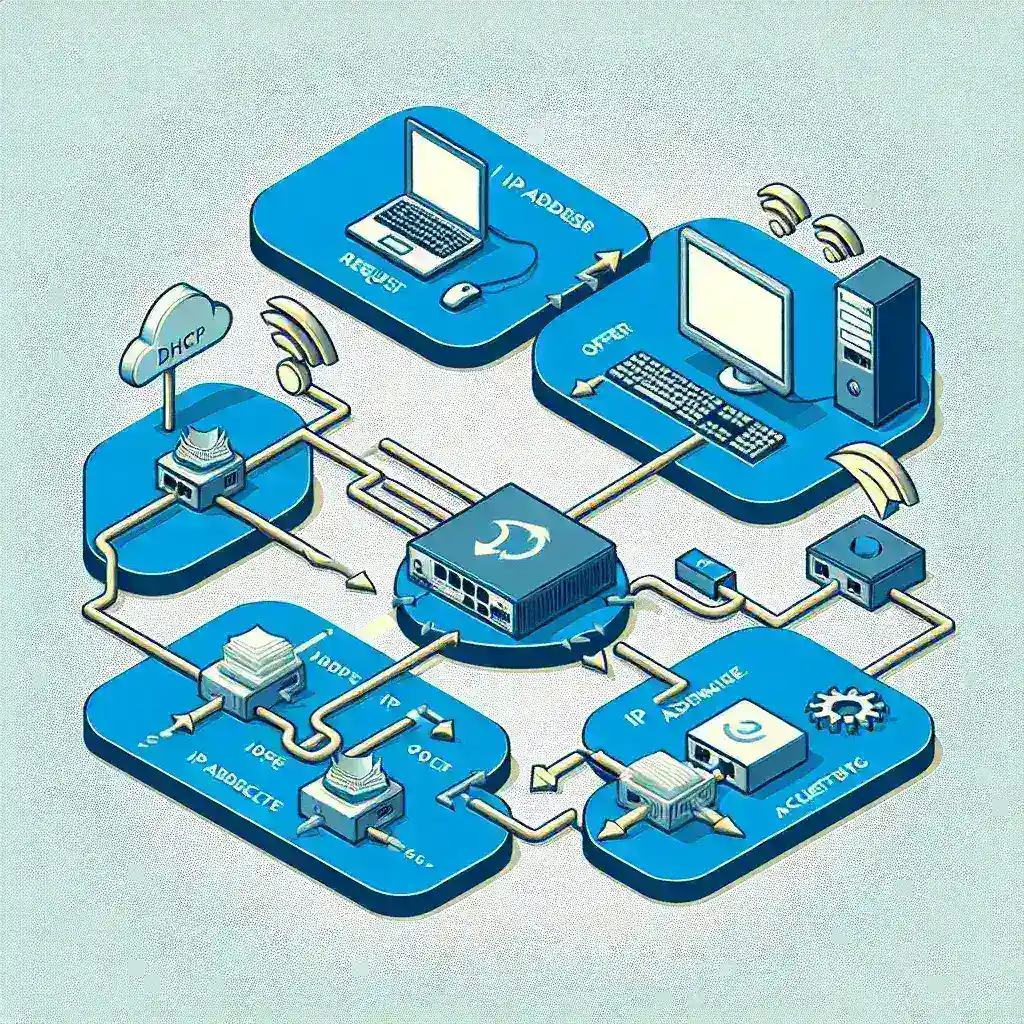
Dynamic Host Configuration Protocol (DHCP) is a network management protocol used to automate the process of configuring devices on IP networks, thus allowing them to use the services without the need for a network administrator to manually provide an IP address to a device. When you configure a network adapter for DHCP, it can dynamically obtain an IP address from a DHCP server, streamlining network administration.
Here is a step-by-step guide on how to configure a network adapter for DHCP:
1. Introduction to DHCP
DHCP simplifies IP address management by dynamically assigning IP addresses to devices. It eliminates the need to manually assign IP addresses and ensures that addresses are not duplicated.
2. Benefits of Configuring Network Adapter for DHCP
- Simplified Management: Eliminate the need for manual IP address configuration, reducing administrative workload.
- Scalability: Easily manage large networks by automating IP address assignment.
- Consistency: Ensure consistent network configuration across all devices.
- Centralized Management: Manage IP address allocation from a single point through the DHCP server.
3. Key Considerations
- Network Requirements: Ensure that your network infrastructure supports DHCP.
- DHCP Server Configuration: Properly configure the DHCP server to provide correct IP addresses and options.
- Security: Implement security measures to prevent unauthorized devices from obtaining IP addresses.
4. Configuring Network Adapter for DHCP in Windows
Step 1: Open Network and Sharing Center
Go to the Control Panel, click on Network and Internet, and then select Network and Sharing Center.
Step 2: Access Adapter Settings
Click on Change adapter settings from the left-hand menu.
Step 3: Choose Network Adapter
Right-click on the network adapter you want to configure for DHCP and select Properties.
Step 4: Open IP Settings
Double-click on Internet Protocol Version 4 (TCP/IPv4) to open its properties.
Step 5: Enable DHCP
Select Obtain an IP address automatically and Obtain DNS server address automatically. Click OK and then Close.
| Step | Description |
|---|---|
| Open Network and Sharing Center | Go to Control Panel > Network and Internet > Network and Sharing Center |
| Access Adapter Settings | Click Change adapter settings |
| Choose Network Adapter | Right-click the adapter > Properties |
| Open IP Settings | Double-click Internet Protocol Version 4 (TCP/IPv4) |
| Enable DHCP | Select Obtain an IP address automatically and Obtain DNS server address automatically |
5. Configuring Network Adapter for DHCP in macOS
Step 1: Open System Preferences
Click on the Apple Menu and select System Preferences.
Step 2: Access Network Settings
Click on Network to open the network settings panel.
Step 3: Choose Network Adapter
Select the relevant network adapter from the left-hand pane.
Step 4: Configure IPv4
Click on the Advanced button and go to the TCP/IP tab.
Step 5: Enable DHCP
From the Configure IPv4 menu, select Using DHCP. Click OK and Apply to save the changes.
6. Configuring Network Adapter for DHCP in Linux
Step 1: Open Terminal
Press Ctrl+Alt+T to open a terminal window.
Step 2: Edit Network Configuration
Use a text editor like nano to open the network configuration file. For example: sudo nano /etc/network/interfaces.
Step 3: Configure DHCP
Update the configuration file to include the DHCP settings. For example:
iface eth0 inet dhcpStep 4: Restart Network Service
Apply the configuration changes by restarting the network service. For example: sudo systemctl restart networking.
Conclusion
Configuring your network adapter for DHCP is an essential step in ensuring seamless and automated network management. By following the steps outlined for Windows, macOS, and Linux systems, you can easily enable DHCP and enjoy the benefits of efficient IP address management.

