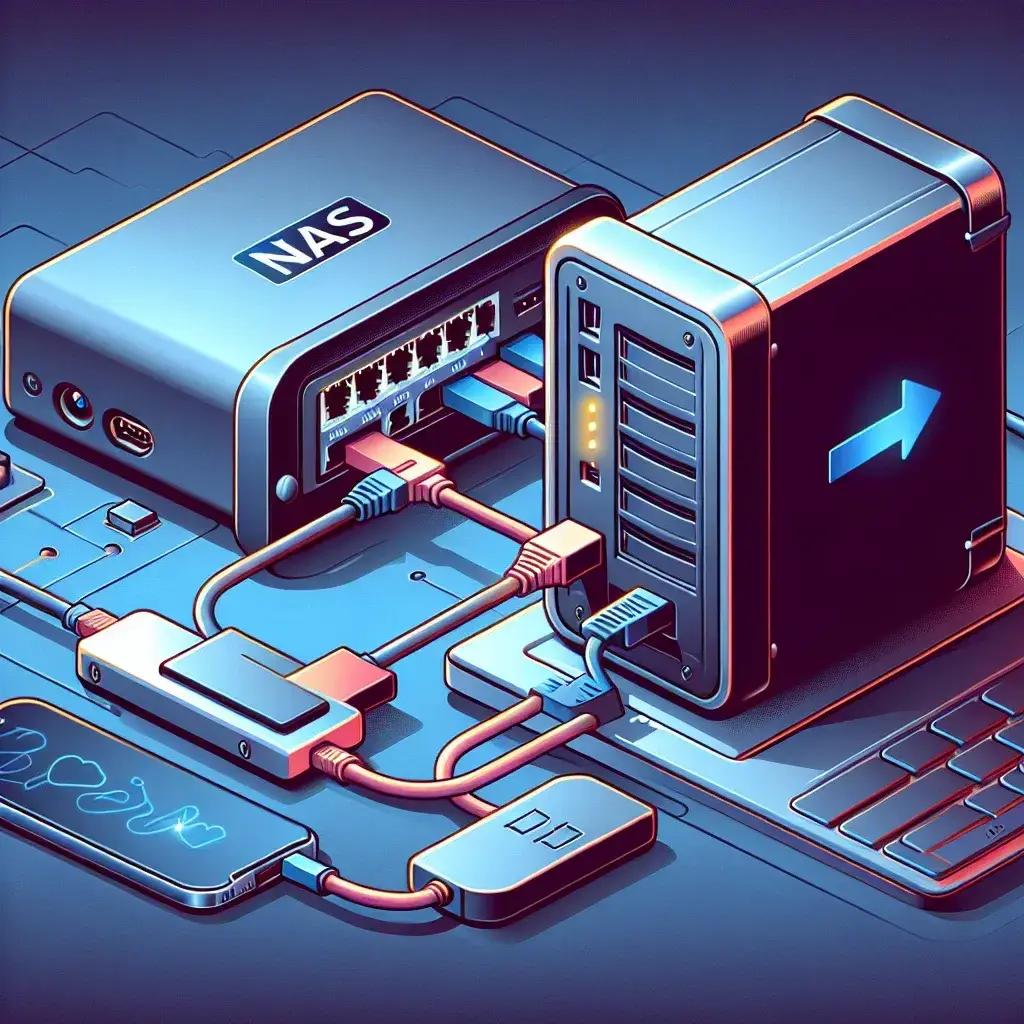
Connecting a network adapter to a Network Attached Storage (NAS) device is essential for increasing storage accessibility and improving network performance. This comprehensive guide takes you through the steps necessary to connect a network adapter to your NAS effectively.
Understanding the Basics
Before diving into the connection process, it’s important to understand what a NAS and a network adapter are. A Network Attached Storage (NAS) is a dedicated file storage device that connects to a network, allowing multiple users and heterogeneous client devices to retrieve data from centralized disk capacity. On the other hand, a network adapter is hardware that connects a computer or other device to a network. The main types of network adapters include Ethernet adapters, Wi-Fi adapters, and Fiber adapters.
Key Benefits of Using a Network Adapter with NAS
| Benefit | Description |
|---|---|
| Improved Speed | Increases data transfer speeds with advanced protocols. |
| Enhanced Connectivity | Facilitates better network access and sharing capabilities. |
| Flexibility | Allows connection to various network types like Ethernet, Wi-Fi, or Fiber. |
Steps to Connect a Network Adapter to NAS
Step 1: Choose the Right Network Adapter
Ensure that the network adapter you choose is compatible with your NAS. Compatibility typically depends on the NAS model and the type of network (Ethernet, Wi-Fi, or Fiber) you want to connect to.
Step 2: Prepare Your NAS for Installation
Before proceeding, ensure your NAS is powered off and unplugged from the power source. This precaution will help prevent any electrical damage during the installation process.
Step 3: Install the Network Adapter
Ethernet Adapter
-
Open the NAS chassis: Remove the screws and open the NAS to access the internal components.
-
Insert the adapter into the slot: Locate the PCIe (Peripheral Component Interconnect Express) slot and gently insert the Ethernet adapter.
-
Secure the adapter: Use screws or clips to secure the adapter in place.
Wi-Fi Adapter
-
Connect via USB: Plug the Wi-Fi adapter into an available USB port on the NAS.
Fiber Adapter
-
Install like an Ethernet Adapter: Open the chassis, locate the PCIe slot, insert the Fiber adapter, and secure it.
Step 4: Connect the NAS to the Network
For Ethernet Adapters
-
Plug one end of the Ethernet cable into the adapter’s port.
-
Connect the other end to a network switch, router, or directly to another network device.
For Wi-Fi Adapters
-
Using the NAS interface, scan for available Wi-Fi networks.
-
Select your desired network and enter the password to connect.
For Fiber Adapters
-
Insert the Fiber cable into the adapter’s port and connect the other end to a compatible network device or switch.
Step 5: Configure Network Settings
After physically connecting the adapter, power on your NAS. Access the NAS’s configuration interface (often web-based) through its IP address. Navigate to the network settings section:
-
Ethernet: Assign an IP address manually or via DHCP.
-
Wi-Fi: Confirm network connection status and signal strength.
-
Fiber: Ensure the connection parameters match those of your Fiber network.
Troubleshooting Common Issues
NAS Not Recognizing the Network Adapter
If your NAS does not recognize the network adapter, ensure it is properly installed and compatible with your NAS model. Check for firmware updates or drivers specific to your NAS.
Slow Network Speeds
Slow speeds can be due to a variety of factors including cable quality, network congestion, or incorrect settings. Ensure your cables are in good condition and that your NAS’s network settings are optimized.
Conclusion
Connecting a network adapter to your NAS can significantly enhance your network’s performance, offering better speed and connectivity. By following the steps outlined in this guide, you should be able to seamlessly integrate a network adapter with your NAS, ensuring a robust and flexible storage solution.

