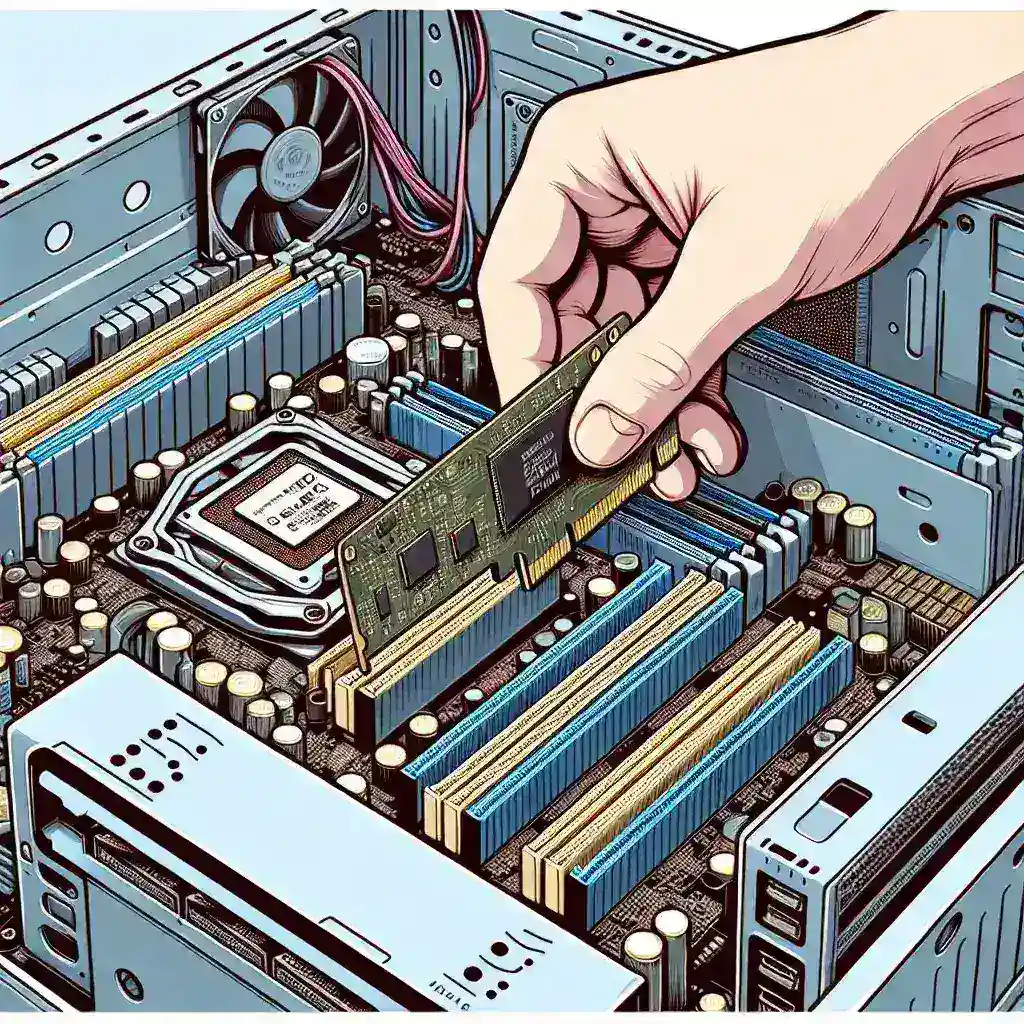
Installing a PCI card in your computer can seem daunting, but with the right instructions, it’s a straightforward process. Whether you’re looking to upgrade your graphics, sound, or network capabilities, installing a PCI card yourself can save both time and money. In this article, we’ll walk you through every step of the installation process to help you add new hardware without any hassle.
Understanding PCI Cards
Before diving into the installation process, it’s crucial to understand what a PCI card is and what types are available. PCI (Peripheral Component Interconnect) cards are hardware components that add additional functionalities to your computer. They can be used for various purposes, such as improving the graphics, enabling Wi-Fi, or adding more USB ports.
Common Types of PCI Cards
| Type of PCI Card | Function |
|---|---|
| Graphics Card | Enhances video and graphic capabilities |
| Sound Card | Improves audio output |
| Network Card | Enables wired or wireless networking |
| USB Expansion Card | Adds extra USB ports |
Tools You Will Need
- Philips-head screwdriver
- Anti-static wrist strap
- PCI card
- User manual for your computer motherboard
Step-by-Step Installation Guide
Step 1: Power Down Your Computer
Before you start, make sure to turn off your computer and unplug it from any electrical outlets. This prevents any electrical mishaps and ensures your safety.
Step 2: Open the Computer Case
Using a Philips-head screwdriver, remove the screws from the back of the computer case. Carefully take off the side panel to expose the internal components of your computer.
Step 3: Ground Yourself
Before touching any internal components, it’s essential to ground yourself to prevent static electricity from damaging your hardware. You can do this by wearing an anti-static wrist strap or by regularly touching a metal part of the computer case.
Step 4: Locate the PCI Slot
Identify an available PCI slot on your motherboard. The slots are usually labeled and are rectangular in shape. Consult your motherboard’s user manual if you’re having trouble locating them.
Step 5: Remove the Slot Cover
Find the metal cover at the back of the case that corresponds to the PCI slot you plan to use. Use your screwdriver to remove the cover. Keep the screws as you’ll need them later.
Step 6: Insert the PCI Card
Carefully align the PCI card with the slot and gently press it down until it’s fully seated. You should hear a click when the card is properly inserted.
Step 7: Secure the PCI Card
Using the screws you saved from the slot cover, secure the PCI card to the case. This ensures the card remains firmly in place.
Step 8: Close the Computer Case
Replace the side panel of the computer case and reattach the screws. Make sure the case is securely closed before continuing.
Step 9: Power On and Install Drivers
Plug your computer back into the electrical outlet and turn it on. Once the system boots up, Windows (or your operating system) may automatically detect the new hardware and prompt you to install drivers. If not, use the driver CD that came with your PCI card or download the latest drivers from the manufacturer’s website.
Troubleshooting Tips
- If your computer doesn’t recognize the card, make sure it’s properly seated in the PCI slot.
- Ensure you’ve installed the latest drivers for your PCI card.
- Double-check that you’ve connected any necessary cables to the new hardware.
- Consult the user manual for both your motherboard and the PCI card for specific instructions or troubleshooting tips.
By following these steps, you should be able to successfully install a PCI card and enhance your computer’s capabilities. Enjoy the new functionalities that your upgraded hardware offers, whether it’s better graphics, sound, or network connectivity.

